I²C 4-Digit 7-Segment LED Display smartLED
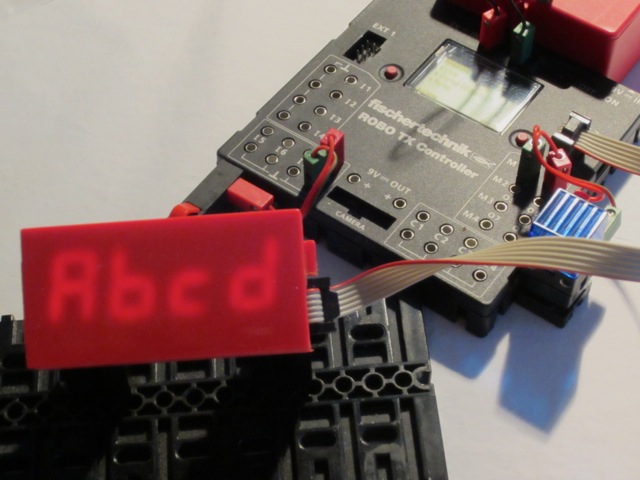
Device
- Manufacturer: Rei Vilo
- Break-out provider:
- Specification sheet:
- I²C address: 0x16
Standard Functions
|
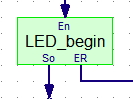
LED_begin initialise the sensor
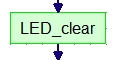
LED_clear clear all the segments on the 4 digits
|
|
|
|
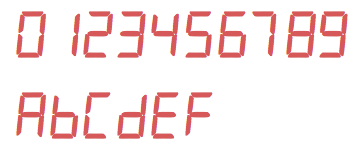
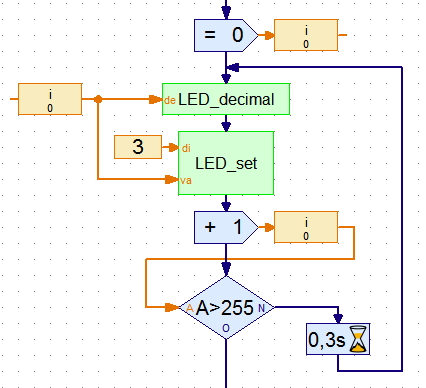
LED_decimal display a decimal number from 0000 to 9999
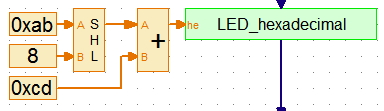
LED_hexadecimal display an hexa-decimal number from 0000 to FFFF
|

|
Advanced Functions
|
LED_point switch the decimal point of the given digit off or on
|

|
|
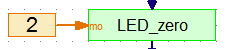
LED_zero set the leading zero mode
|
|
|
LED_set switch the segments of the given digit off or on
|
|
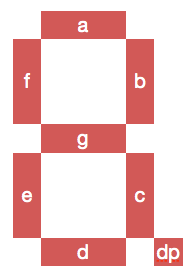
The binary coding of the segments used is:
|
|
|
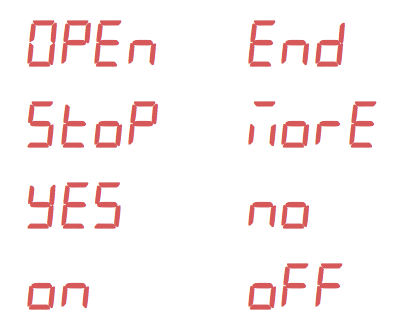
For example,
Try your own messages! |
|
|
This example displays all the possible combinations on the left-most digit with the corresponding value on the three digits.
|
|
Download
|
Download the driver with an example for RoboPro.
This file is under the Creative Commons Attribution-NonCommercial-ShareAlike 4.0 International License. |
