CSV List Management
There are two ways to manage CSV lists:
- as data: values stay in memory
- as file: values are written into a file
Let's go deeper into details.
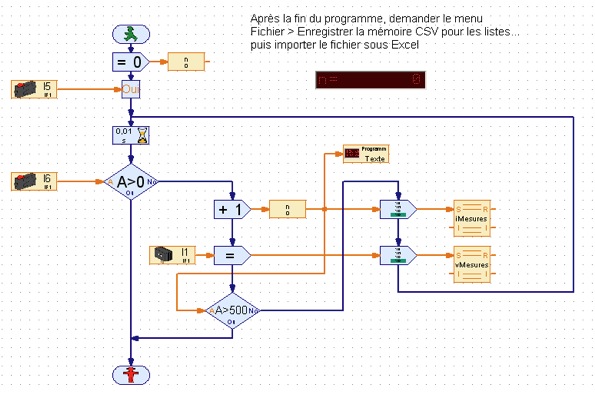
As DataThe values are stored in a data table on the memory.
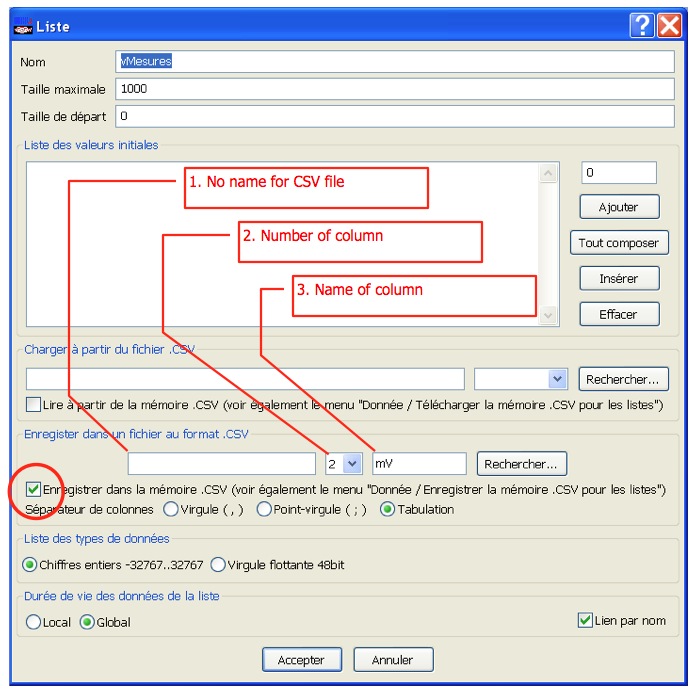
This works in both on-line mode (Robo TX is a dumb interface) and stand-alone mode (Robo TX is a full controller). First, check Save in CSV memory. Then provide all the required elements, for each List element:
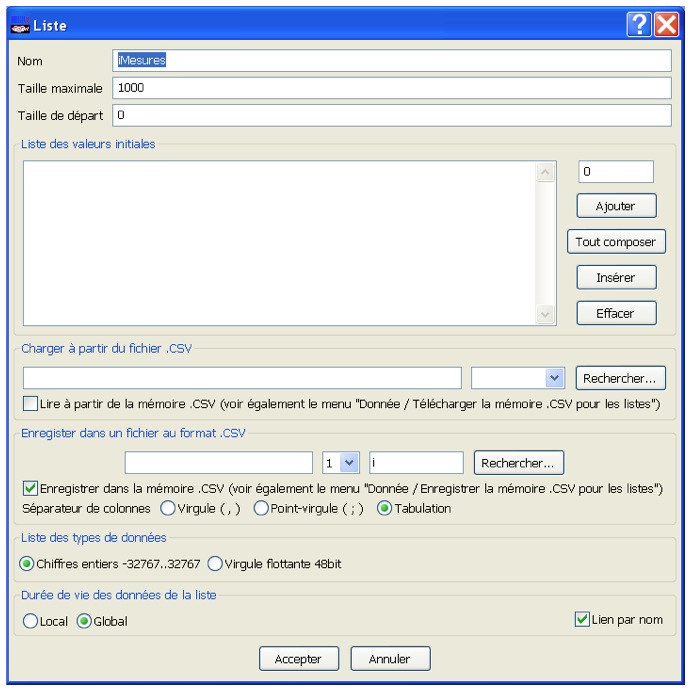
After vMesures, do the same for the other List element iMesures:
Run the project. The values are stored into the memory.
If you launch the project again, they're lost. Now, is it possible to save those values? Sure. Here's how. |
As FileThe values are written into a CSV file.
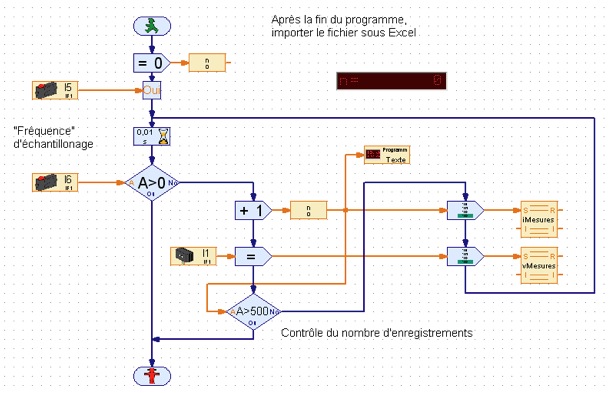
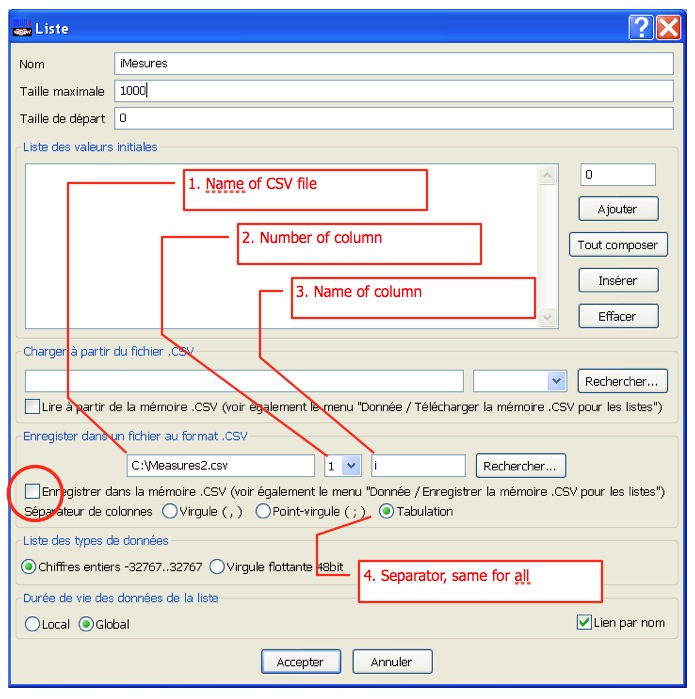
This works only in on-line mode (Robo TX is a dumb interface). First, uncheck Save in CSV memory. Then provide all the required elements, for each List element:
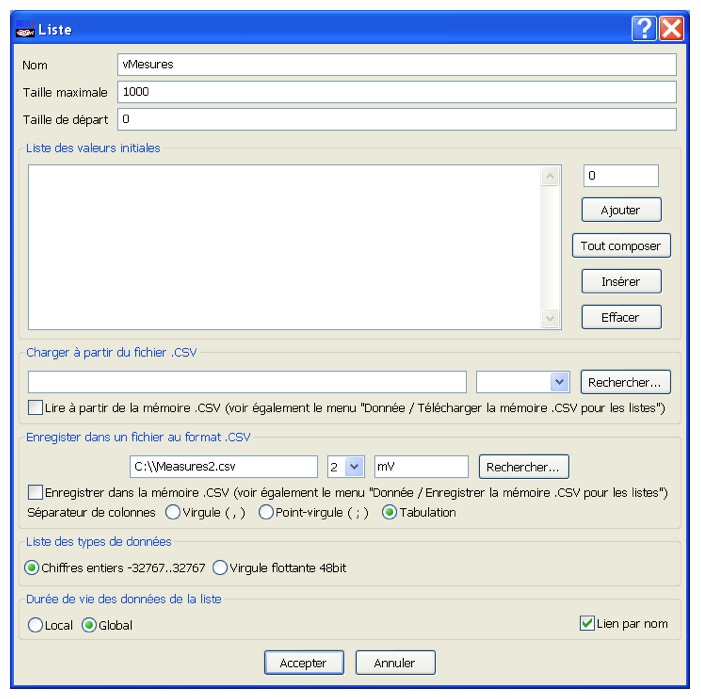
After iMesures, do the same for the other List element vMesures:
Check the name for CSV file is identical for all List elements.
Check the separator (either coma, semi-column or tab) is identical for all List elements. Run the project. The values are written into the file c:\Measures2.csv. Be careful, if you run the project again, the file will be over-written. |
Saving Data To A File
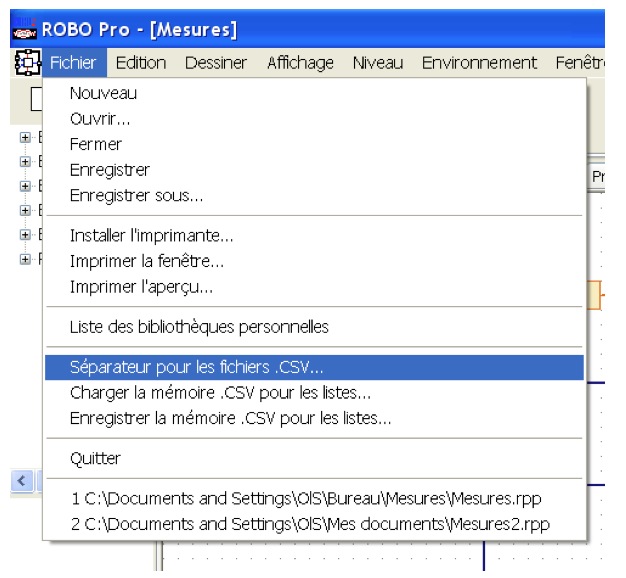
When the project stops, explore the File menu:
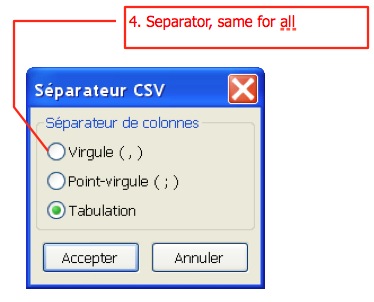
We need to define the CSV file separator:
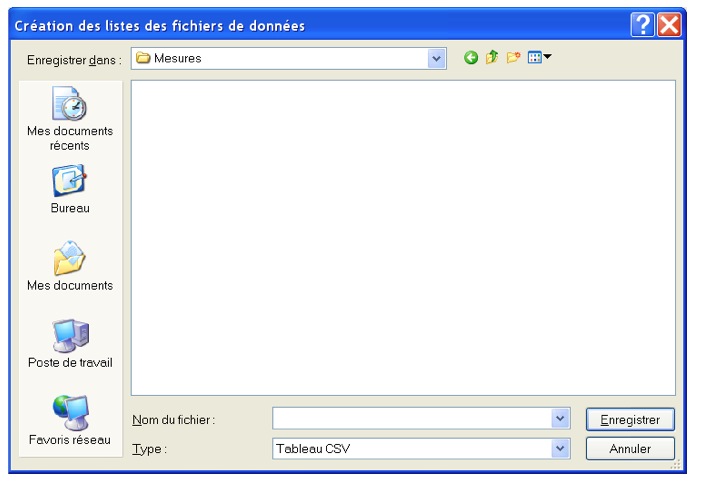
4. choose between coma, semi-column and tab. Then, select the menu File > Save CSV memory and type in the name of the file.
After, you could proceed as described As File > Using CSV Data in the opposite column.
|
Using CSV File
With Excel, open an empty worksheet.
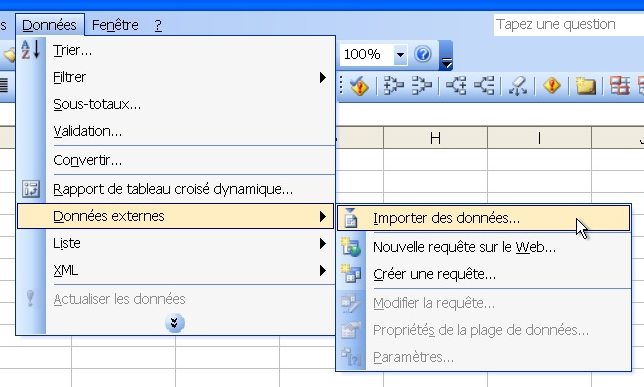
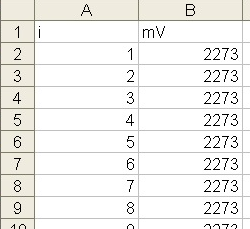
Call the menu Data > External Data > Import Data, select the CSV file you want to import, choose the appropriate separator (either coma, semi-column or tab) and validate. And voilà!
|
Downloads
|
The Robo Pro project files are provided as downloads below.
This file is under the Creative Commons Attribution-NonCommercial-ShareAlike 4.0 International License. |
| ||||||||||||
