Building
|
The fun can start now!
|

|

|
System Differences
|
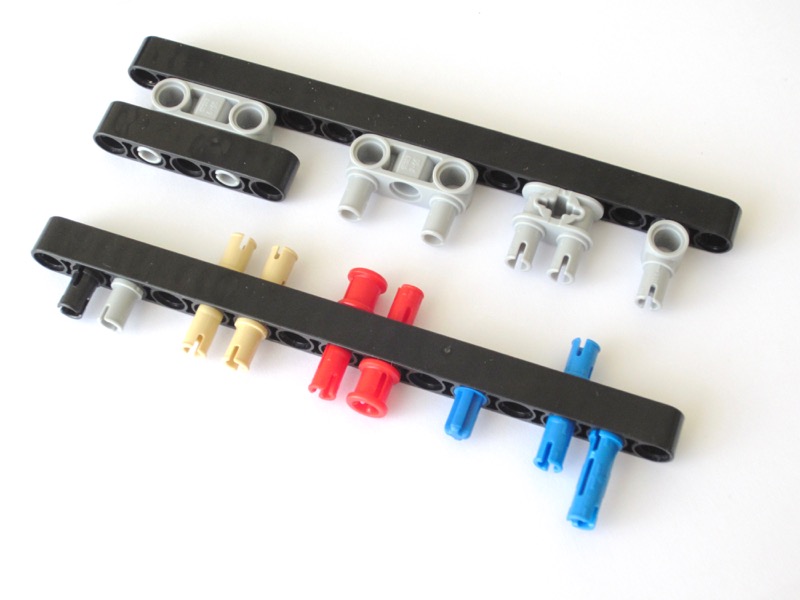
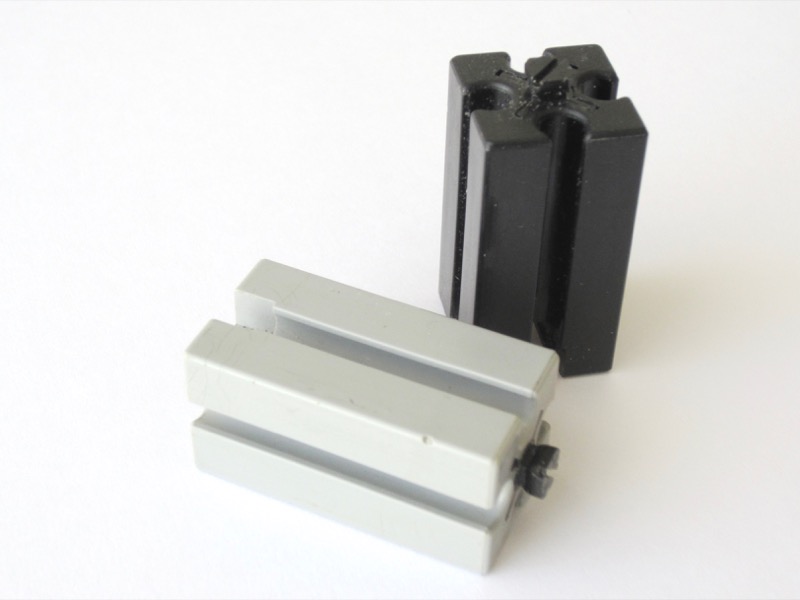
The Mindstorms bricks are taken from the Technic line, and can be used on 2 faces only.
|
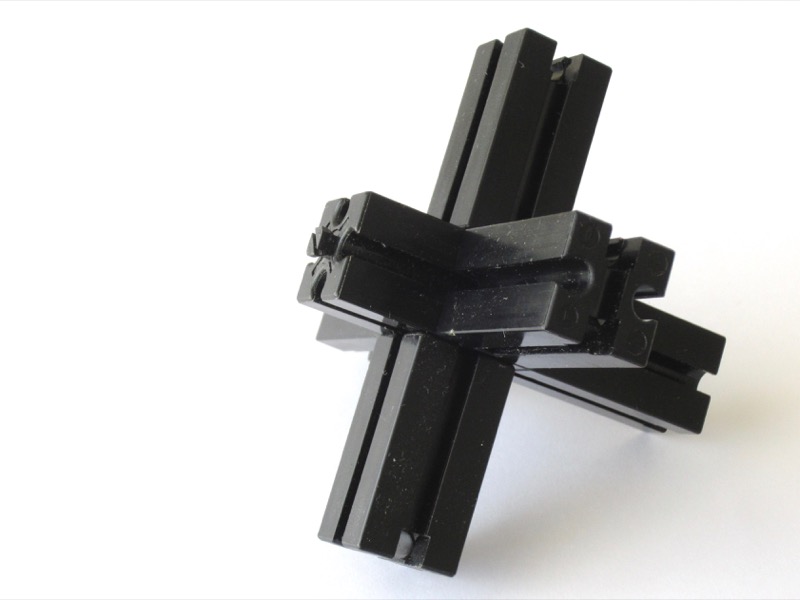
The standard fischertechnik element can be used in any of its 6 faces. It used to be light-gray, it is now black.
|
|
2-D vs. 6-D
|
|
|
|
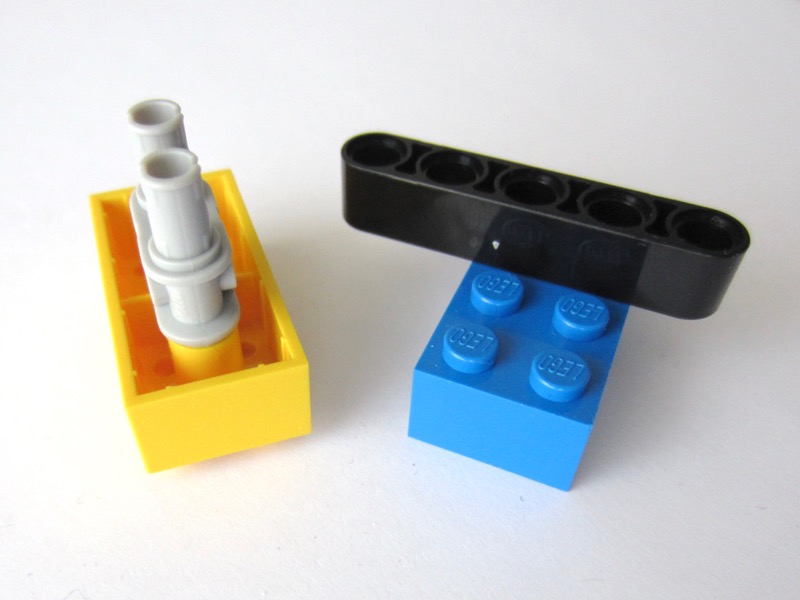
Unfortunately, the Mindstorms and Technic bricks and are not directly compatible with the standard bricks.
A similar restriction applies for the motors. There used to be an adapter for Technic motors on Mindstorms (reference 8528), but is has been discontinued. |
All elements are compatible across all the series. Computing elements can be used with the first elements introduced in 1965.
The only limitation applies for old motors running at 6 V, as the controller operates at 9 V. |
|
Compatibility
|
|
|
|
The set contains 601 elements of 101 kinds. Many of those elements are small and very small.
I've been surprise by the diversity of shapes and colours. For example, there are up to 6 different connectors to join two structural elements. No less than 36 elements are for decoration only, for the punk hair and for the insect carapace with stickers. |
The set contains 310 elements of 93 kinds. Colours are limited to black, red and yellow (or gold as in the German flag) and some are green and silver.
This more limited range of elements allows the builder to focus on the construction. Only 14 elements are dedicated to decoration, including two eyes and a plate for a sticker, but all of them can be used as standard elements. For example, the eyes are wheels. |
Electric Connectors
|
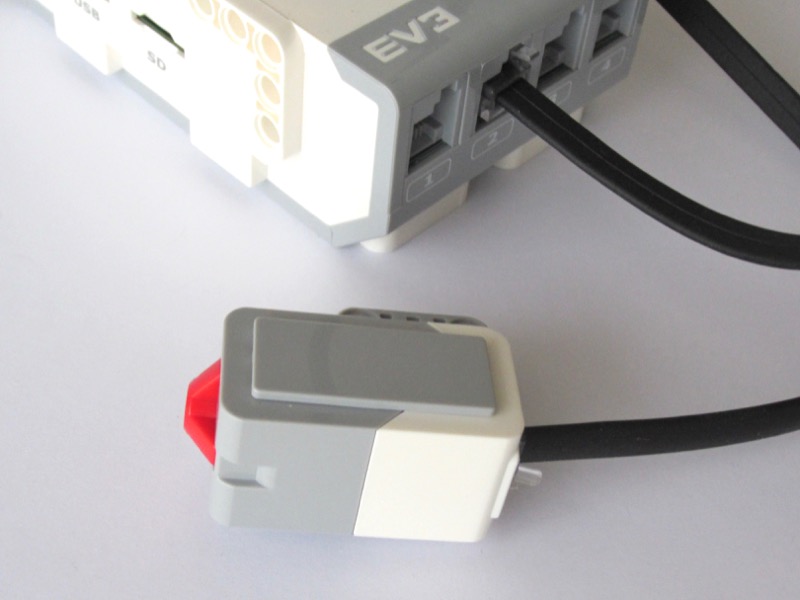
The connection between the controller and the peripherals uses proprietary cables.
The connector looks like a telephone plug (RJ11) with 6 contacts, but the latch is not centred, making it incompatible. |
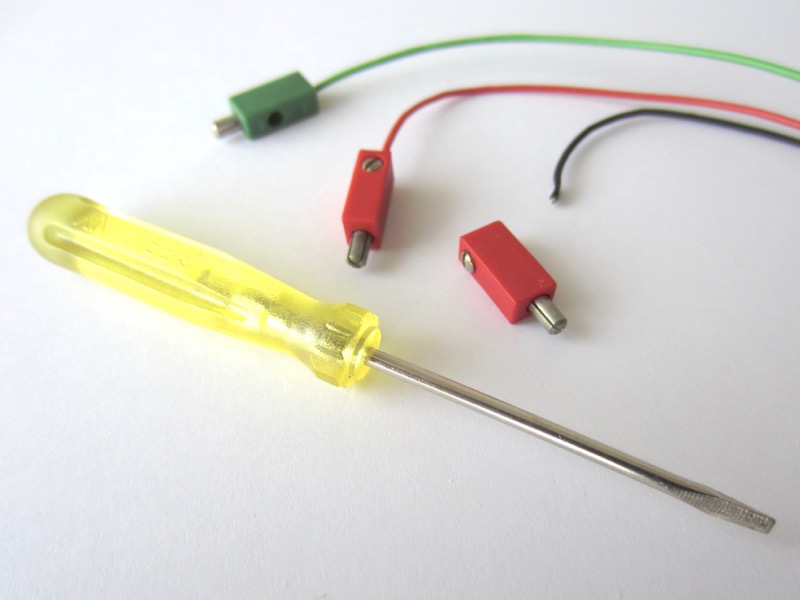
The connection between the controller and the peripherals use standard cables with ∅ 4 mm plugs.
A screw-driver is provided to prepare the cables. |
|
Left, a proprietary connector
Right, a standard plug |

|
|
|
This option makes connection very easy and virtually fool-proof. The EV3 controller identifies the peripherals automatically.
|
This option requires more attention while connecting the devices, but allows to use any other device.
|
|
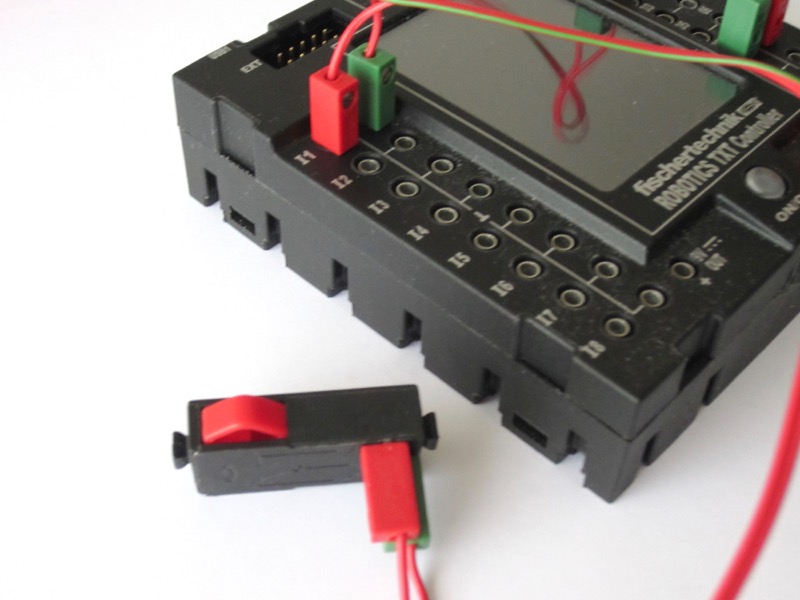
Connecting a temporary switch
|
|
|
|
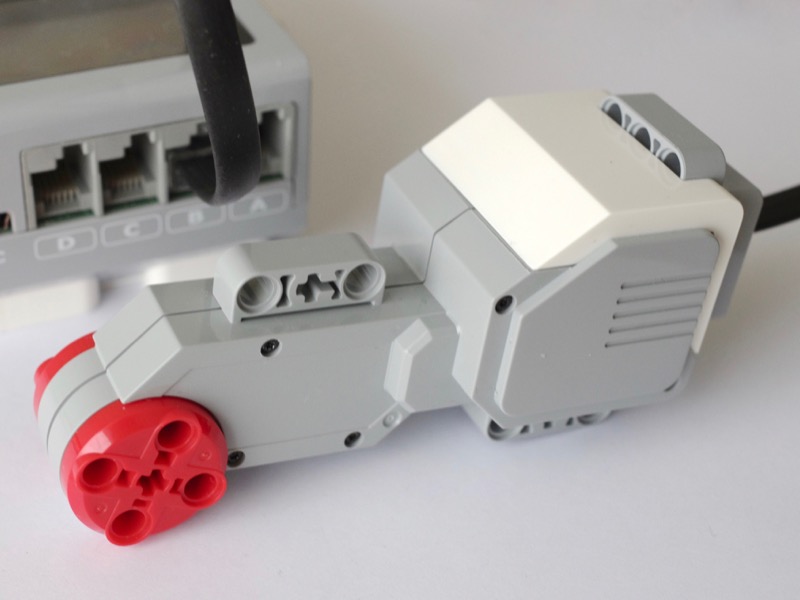
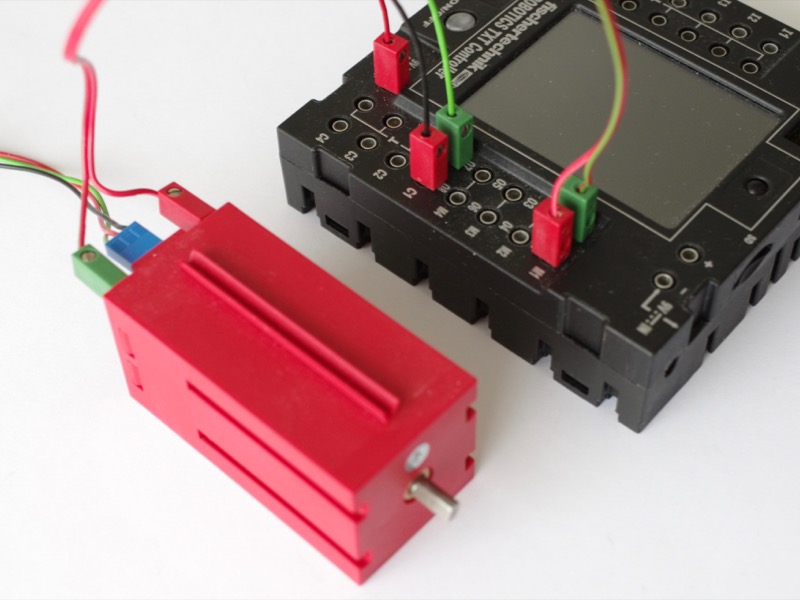
Connecting an encoder motor
|
|
|
|
Connecting the encoder motor requires one cable with a proprietary plug, for motor power and fast counter.
|
Connecting the encoder motor requires 5 cables with standard ∅ 4 mm plugs, 2 for power and 3 for the fast counter.
|
Components
|
The main components are:
I'm surprised to see no lamps. |
The main components are:
|
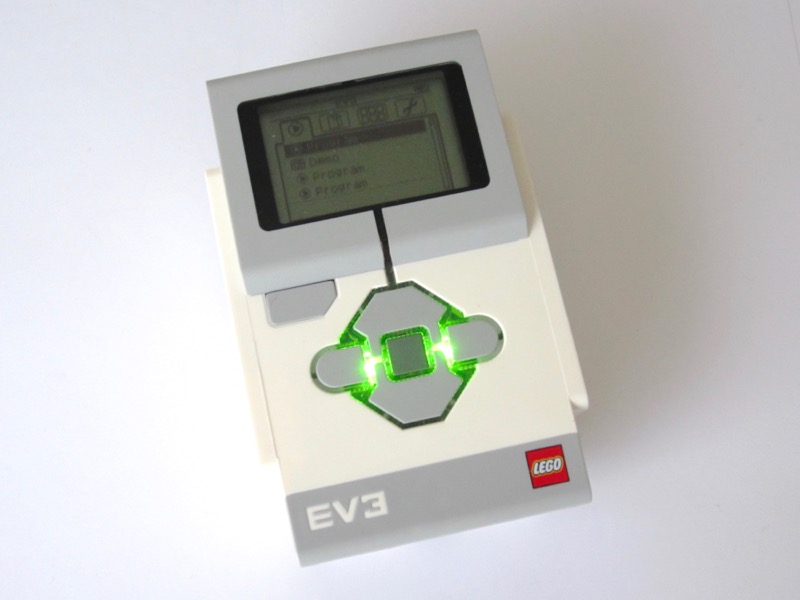
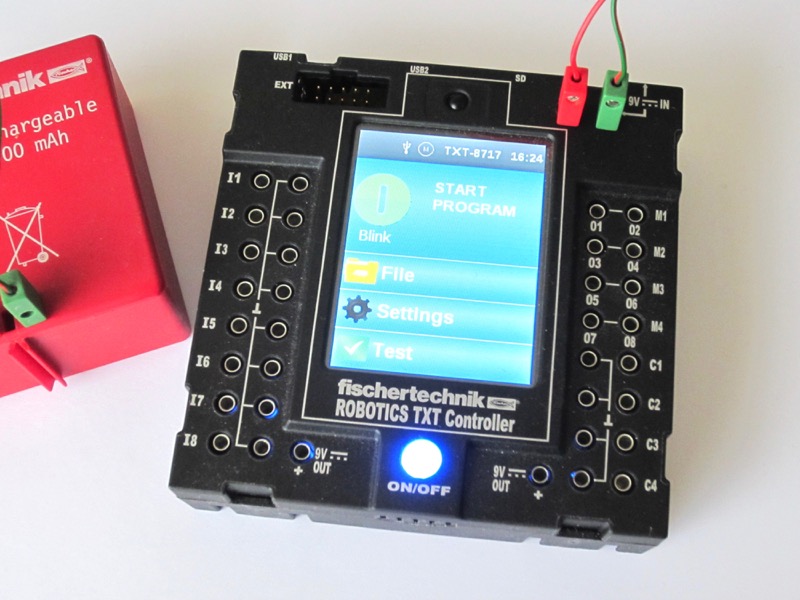
Controller
|
|
|
The controller features
Plugging a WiFi dongle makes the EV3 controller really hard to integrate in the models. |
The controller features
|
Building Instructions
|
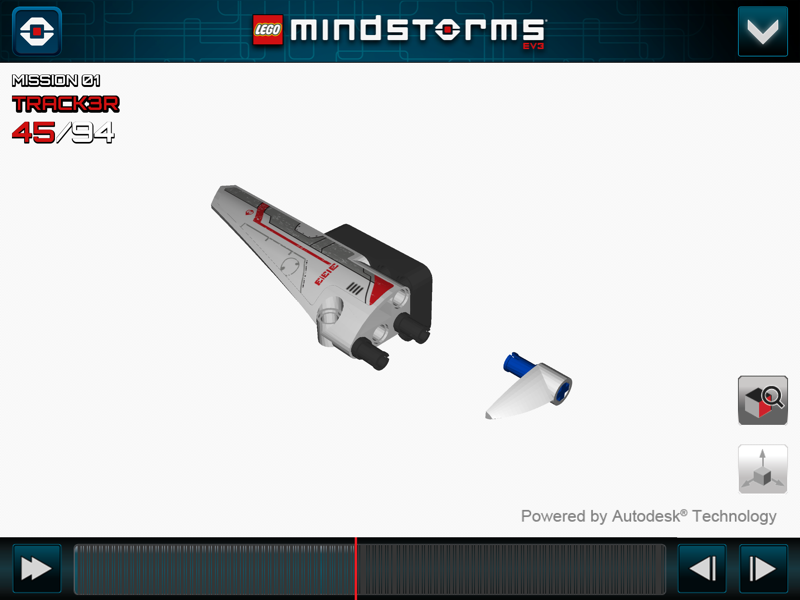
Left, the Autodesk 3D builder app
Right, the printed building instructions |
|
|
|
Except for the introductory model, the building instructions are either on PDF documents or on the 3D builder app (iOS and Android). Either solution requires a download.
I've been amazed by the the 3D builder app powered by Autodesk. It allows to move the model in any direction to spot on a specific point and provides animation for building. |
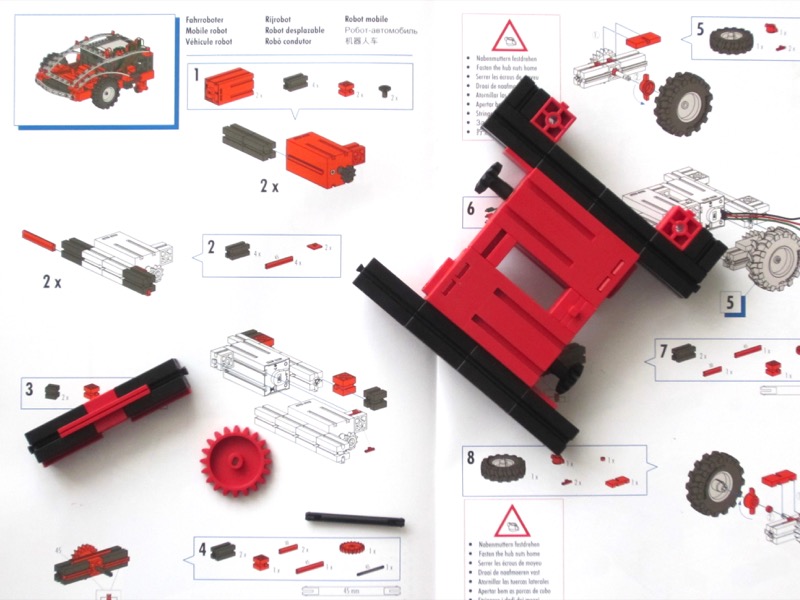
The supplied manual provides the building instructions for all the 14 models.
Instructions are clear and well illustrated. |
Result
|
The Lego model appears as less rigid than the fischertechnik one.
|
The fischertechnik model feels sturdier and more solid than the Lego one.
|
Conclusion
|
The proprietary cable eases connection to the Lego controller, at the expense of limiting expandability.
I prefer the printed manual over the PDF document and the 3D app. Connecting elements on any of the 6 faces contributes to a stronger rigidity of the fischertechnik models. |
Previous |
Next |
